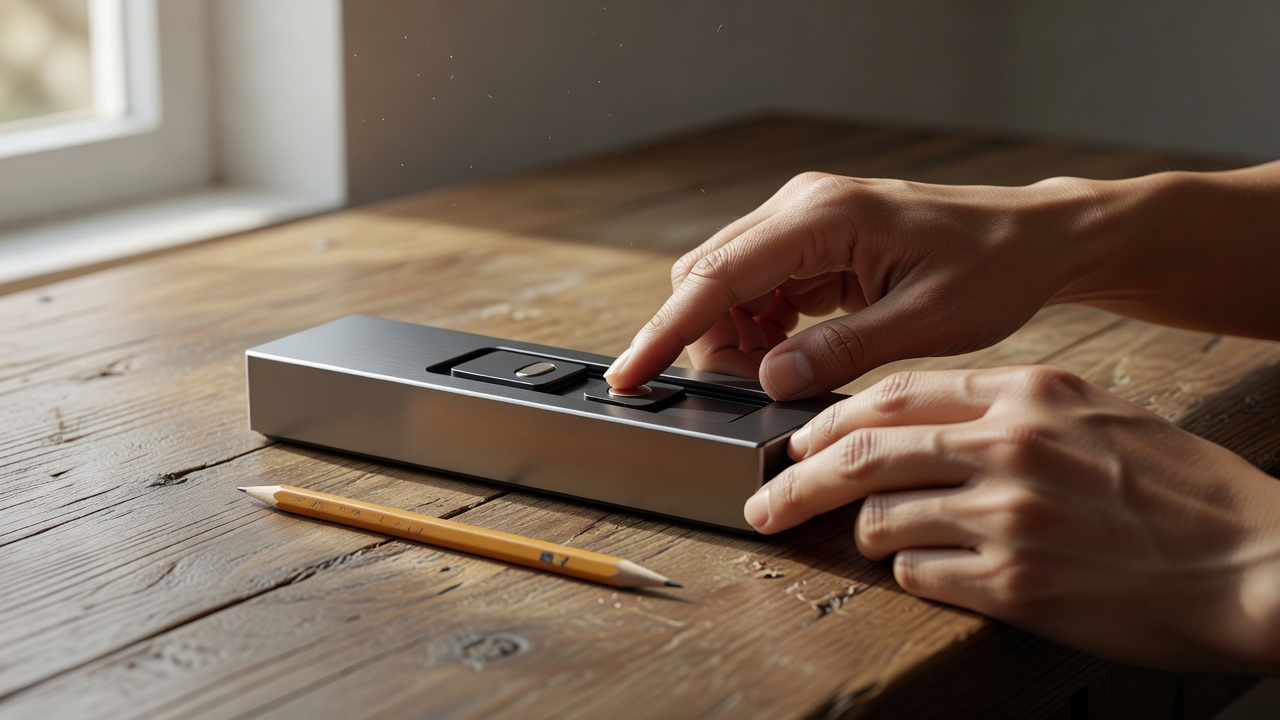
A magnetic puzzle combines two systems: a mechanical path and a force that reaches across a gap. If you try to solve both at once, a sticking slider can be mistaken for a weak magnet, and a strong magnet can disguise a poor path. Start by making the mechanical movement work on its own.
Use a commercially enclosed magnetic handle intended for appropriate craft use, and a captive steel target rather than an additional loose magnet. Follow its manufacturer’s warnings. Keep magnets away from children, pets, sensitive equipment and implanted medical devices as directed by the relevant manufacturers. If secure enclosure is beyond your tools or experience, choose the paper project instead.
Build a path without hidden force
Draw a short route with one broad bend and a clear finish. Make a simple test slider that matches the intended target’s outer dimensions, then move it through the open path by hand. Keep the walls parallel and remove dried glue that projects into the channel.
Clearance is the extra room around the slider. Too little makes every rough edge a brake; too much allows the piece to turn sideways and wedge. There is no single correct allowance for every material. Test offcuts from the actual board and cover you intend to use.
Tune the gap rather than the effort
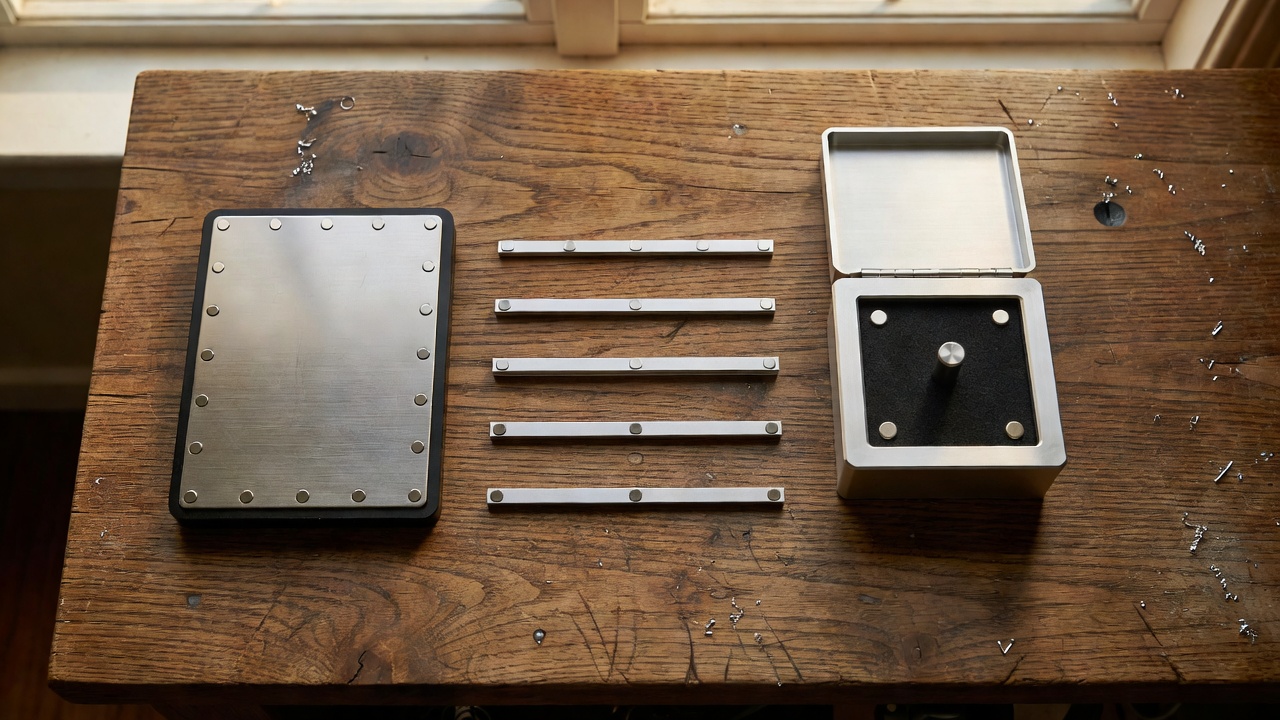
With the target safely retained in your attended test arrangement, place the cover between it and the enclosed handle. Move slowly along a straight section. A close handle may pull the target hard against the cover, increasing rubbing rather than improving control.
Add nonmagnetic spacer layers in small increments and compare the feel. Increasing the gap reduces attraction, but the exact change depends on magnet shape, target material and geometry. Aim for a target that follows deliberate movement without snapping sharply from one position to another.
Design decisions, not just a corridor
Once a straight path works, add one junction. A dead end should give the player useful feedback and enough room to reverse. Avoid narrow pockets that can trap the target at an angle. Make the start and finish distinguishable without requiring the player to lift the cover.
A simple objective is to guide the slider to a marked dock without losing contact. Another is to visit a sequence of stations. Begin with one rule, because hidden movement already requires concentration. A visually complicated surface rarely improves an untested underlying mechanism.
Resolve the enclosure before regular use
The finished cover must prevent access to the target during normal handling, and the handle must retain its magnet. Do not rely on a decorative paper layer or a small spot of glue as the only barrier. Materials and fastening methods need to suit the particular design; these notes cannot certify their strength.
Inspect the assembly before each session. Stop using it if the housing cracks, a fastener loosens or a component becomes accessible. Store it somewhere secure, not in a communal desk drawer where a visitor could mistake it for a child’s toy. Commercial toy safety involves standards and testing beyond a hobby prototype.
When the pull feels wrong
The target sticks against the cover
Check the mechanical path first. Then test a slightly greater handle-to-target separation. Stronger attraction is not automatically smoother motion.
The target loses contact at a corner
Slow the handle, widen the bend and remove any point where the target rotates into a wall. Do not compensate by introducing an unsecured stronger magnet.
I cannot make the containment reliable
Stop the magnetic build. Reuse the path as a mechanically operated slider puzzle, or switch to a folding mechanism without small magnetic parts.
For related safety context, consult the U.S. Consumer Product Safety Commission’s magnet guidance. Product standards such as ASTM F963 and EN 71 are not a claim that a homemade project is compliant.