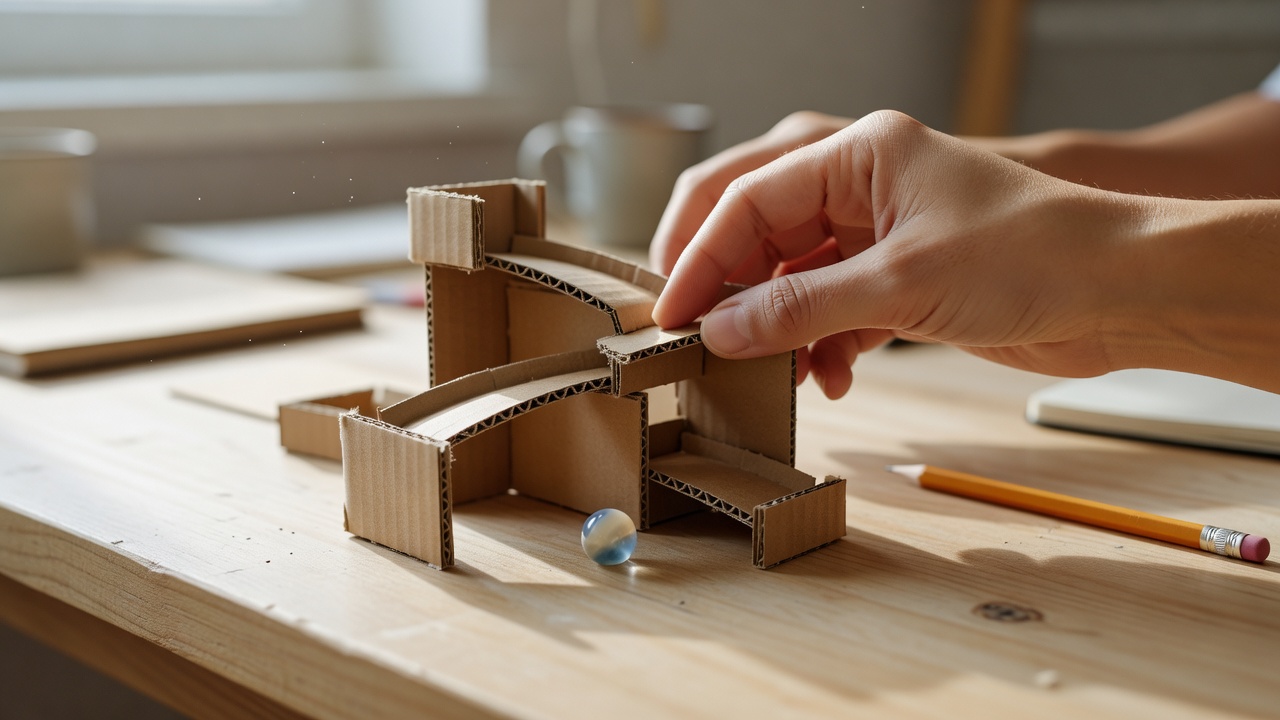
The useful question is not how many obstacles will fit on your desk. It is whether each section passes the marble to the next without wasting its motion. At this scale, a small ridge can matter more than a dramatic drop. Your first build should make those ridges easy to see and reach.
Choose a shallow tray as the boundary. It catches escaped marbles and tells you how much room the route may occupy. Leave space around the edges for your hands. A removable support is usually more valuable than an extra turn, especially while the materials are still changing shape as glue dries.
Fold one generous channel
Measure the marble rather than assuming every marble is the same. Make a U-shaped channel with enough width that the ball rolls without squeezing, but not so much that it can wander into an unsupported edge. Here, clearance simply means the spare space between the moving ball and the walls.
Fold the sides against a ruler and keep the base as flat as possible. If the card has a strong grain direction, a test strip will show which folds stay cleaner. Avoid a deep V for the first attempt: it changes the contact points and can make a rough fold harder to diagnose.
Make the smallest useful joint
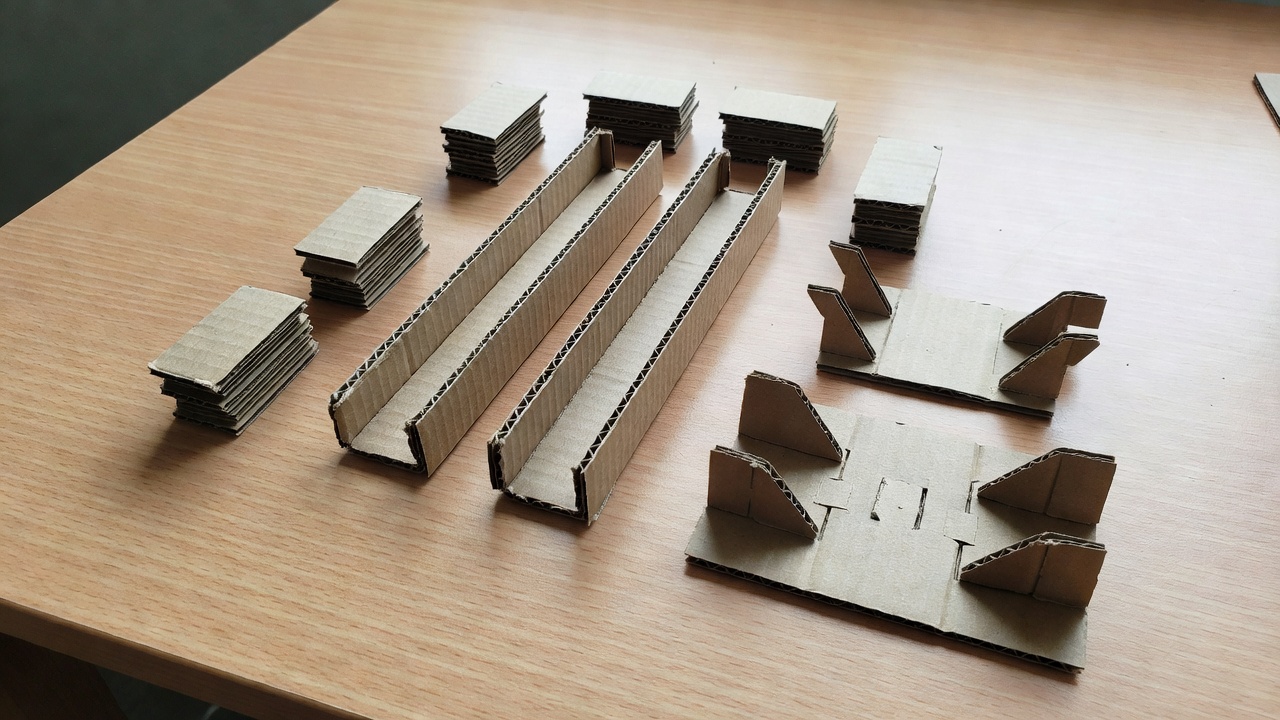
Prepare a second short channel. Let the upstream floor overlap the downstream floor so the marble encounters a small step down rather than an upward-facing lip. Support both ends close to the joint. If either end flexes under the marble, the transition will change from one run to the next.
Tape the pieces temporarily. Release the marble from a marked position without pushing it. Watch the joint from the side, then listen: a repeated click often points to an edge you cannot easily see from above. Adjust the seam before applying permanent glue.
Add slope in small changes
Raise the start using thin card shims. You need enough fall to overcome rolling resistance, not enough to turn every corner into a jump. Change one support at a time and keep the release point the same. Otherwise you will not know whether the better result came from the slope or your hand.
A continuous downhill route is the simplest place to begin. If you add a rise later, the marble needs sufficient incoming speed to climb it, and friction will reduce the available energy. There is no universal slope that works for every cardboard surface, marble and bend.
Give the finish as much care as the start
End in a broad catch pocket lined with a little felt or folded paper. Make the exit visible and the marble easy to retrieve. For a first turn, use a broad curve with a continuous outer wall; an abrupt corner asks the wall to redirect the ball very suddenly.
Record a short series of identical releases. Note where each failure happens rather than calling the whole run unreliable. Only extend the route once its existing sections behave consistently. This is the same useful habit found in larger systems: isolate a connection, test it, then add the next part.
Read the failure, not the ambition
The marble stalls just after the joint
Check whether tape, glue or a curled edge has made a ridge. Flatten or replace that small section before increasing the overall drop.
The ball escapes at a turn
Reduce the incoming speed, widen the curve and inspect the outer wall for gaps. A taller wall alone may hide an unnecessarily abrupt transition.
The track worked yesterday but not today
Card can warp with moisture and drying adhesive. Check supports on a level surface and replace a bowed channel rather than forcing it into place.
The improvement may be only a quieter seam. If the marble notices it, it counts.
For a different kind of control, try a tilting miniature labyrinth. There the route remains mostly flat, and your hands provide the changing slope.