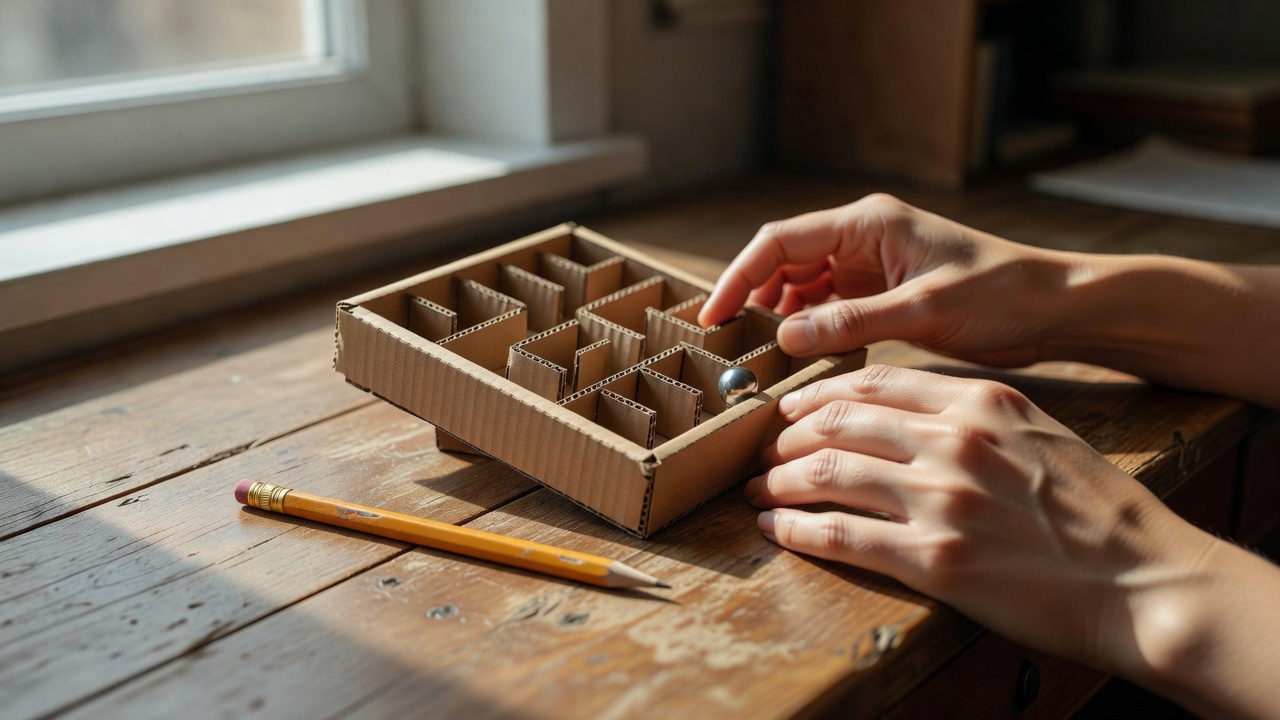
Although the names are often used loosely, a labyrinth traditionally offers a single winding route, while a maze includes choices and dead ends. This project can become either. A single route concentrates attention on tilting control; a branching route adds navigation. Decide which experience you want before drawing a crowded pattern.
Begin with a flat base that sits comfortably in both hands. It should be large enough to turn without covering the route with your fingers, but small enough to rest inside a catching tray. Use a marble that is easy to see against the surface. Small balls are choking hazards, so store the ball separately and securely between sessions.
Draw the movement, not the decoration
Trace the usable boundary and mark the start and finish. Sketch a route between them, leaving generous space at each bend. Then draw wall thickness around the route. A pencil line has almost no width; a real strip of card takes space away from the corridor.
Use the actual marble as a reference when checking narrow sections. The passage should allow it to roll without touching both walls at once. At corners, remember that the ball needs turning room, not just straight-line clearance. A small test corner will tell you more than a complicated drawing.
Give each junction a purpose
For a branching maze, add a few decisions to the main route rather than filling every empty area. Let a dead end be visibly recoverable. The player should be able to reverse direction through controlled tilting, not by shaking the board until the ball jumps a wall.
Think of the layout as a graph: junctions are nodes and passages are connections. Tracing these connections with a pencil helps reveal accidental shortcuts and unreachable sections. Leonhard Euler’s work on the Königsberg bridges is a useful historical doorway into this kind of route thinking, though a small maze needs no formal mathematics.
Install walls in an order you can still reach
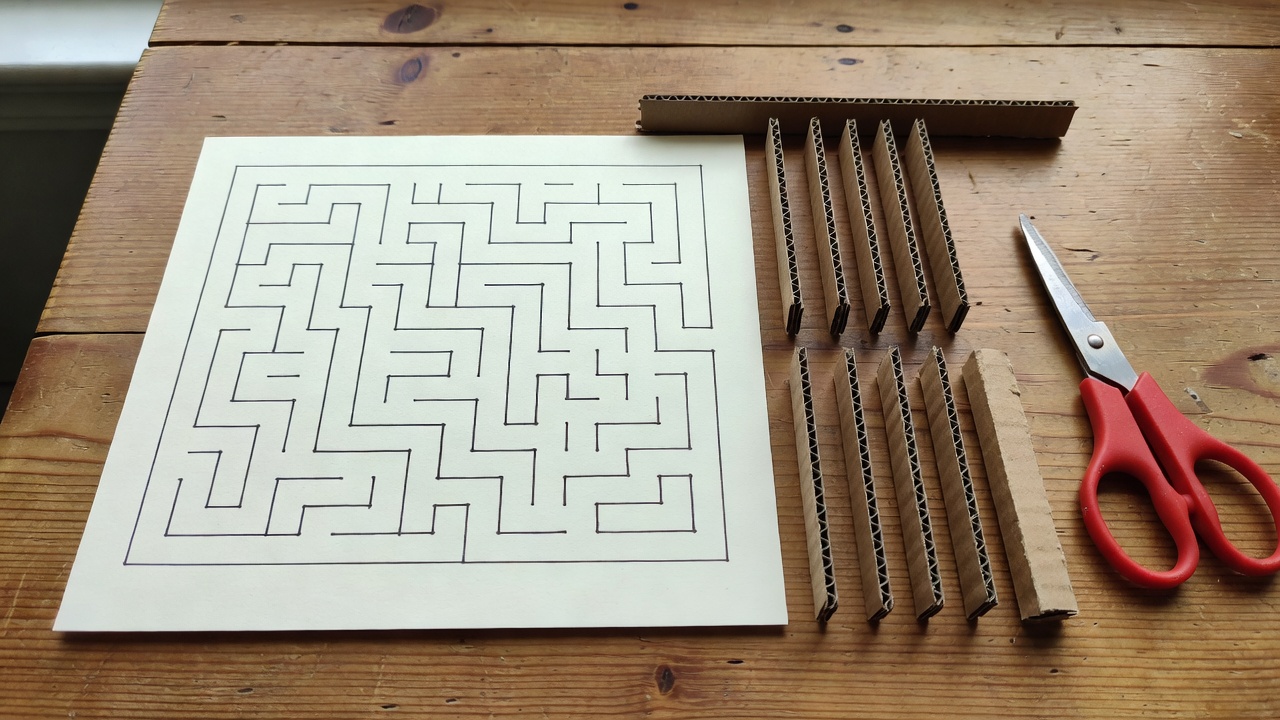
Cut strips with a consistent height and test them upright. Attach the inner walls first, while the outer edge remains open to your hands. Use only enough adhesive to form the joint; excess glue can spread into the corridor and become a permanent bump.
Hold each wall square until it stays put, then allow the adhesive to cure according to its instructions. A wall leaning inward can turn an apparently wide passage into a trap. Add the perimeter last, and inspect every junction before calling the structure complete.
Test control before adding penalties
Try the finished route without holes or scoring rules. Tilt gently from a level position and notice how far the ball rolls after you flatten the board again. The surface finish affects that stopping distance, so avoid changing coatings halfway through your tests.
Ask another adult to try the maze without coaching. Watch where they hesitate. A confusing start marker is not meaningful difficulty, and a hidden glue ridge is not a fair obstacle. Change one troublesome feature, then repeat the same section. Good difficulty comes from deliberate movement and readable choices.
Make the maze fairer, not merely easier
The ball always drifts toward one side
Check the base on a level surface. A bowed board can create a permanent slope that your hands must constantly counteract. Replace or reinforce it before adjusting the route.
A corner traps the marble
Inspect the wall angle and glue fillet. Widen the corner or shorten a projecting strip. Do not rely on vigorous shaking to free the ball.
The route becomes dull after one solution
Try a reverse journey, a gentle no-wall-contact challenge or a new removable route insert. Additional holes are not the only way to add interest.
For historical contrast, look at the single-path floor labyrinth at Chartres Cathedral and the branching hedge maze at Hampton Court Palace. They illustrate different kinds of route experience, not templates to squeeze directly onto a tiny board.
A maze feels fair when a mistake tells you something you can use on the next attempt.